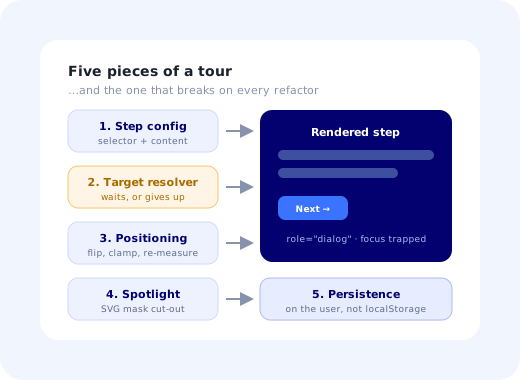
Building a product tour in React feels like a solved problem for about two days. You define an array of steps, each with a CSS selector and some text. You look up the element, measure it, render a tooltip next to it, dim everything else. It works, it looks good, and you ship it.
Then the tour meets a real application. The dashboard fetches before it renders, so step two points at nothing. Step four's target lives inside a virtualised table and is not mounted until you scroll. The settings modal renders in a portal at the end of the body, so the overlay covers it. A designer renames a class and step three silently stops working, silently, because a missing element is not an exception. And someone in marketing asks to reword step five, which now requires a pull request, a review and a deploy.
This guide does both halves honestly. First, how to build a React product tour properly, with the code for the five pieces that matter. Then the seven problems that remain after the first version works, and a straight answer on when building is the right call.
Key Takeaways
- Five pieces: step config, target resolver, positioning, spotlight overlay, persistence. The first version is around two hundred lines.
- Never query a target once. Use a MutationObserver with a timeout, and skip gracefully rather than stalling behind an overlay.
- Use an SVG mask for the spotlight: one element, rounded corners, and no four-div arithmetic.
- Persist completion on the user, not in localStorage, or people see the tour again on their second device.
- Treat each step as a dialog. Focus trap, Escape to dismiss, aria-live on step change: this is a real accessibility requirement.
- The cost is not the build, it is the edit. If rewording step three takes a sprint, the maintenance model is the problem, not the code.
What a Product Tour Actually Requires
Before any code, here is the full surface area. Most estimates cover the first three rows and none of the rest, which is why product tours are the classic two-day task that takes three weeks.
| Piece | What it does | Where it gets hard |
|---|---|---|
| Step config | Ordered list of targets, content, placement. | Lives in code, so every edit is a deploy. |
| Target resolver | Finds the element, waits if it is not there yet. | Async rendering, virtualised lists, route changes. |
| Positioning | Places the step near the target, flips when there is no room. | Scroll, resize, zoom, sticky headers, RTL, long translations. |
| Spotlight overlay | Dims the page, cuts a hole around the target. | Stacking contexts, portals, transformed ancestors. |
| Persistence | Remembers who has seen what. | Cross-device, cross-session, versioning when the tour changes. |
| Targeting | Decides who gets this tour at all. | Needs segments, which needs event data. |
| Analytics | Per-step drop-off, completion, dismissal. | Always added later, after someone asks whether it works. |
1. The Step Configuration
Start with data, not components. A tour is a list; keeping it as plain data means you can later move it to an API, translate it, or version it without touching the renderer.
tour-config.js
Use dedicated data-tour attributes, never class names or generated selectors.
A class is a styling decision that someone will change without knowing a tour depends on it. A
data-tour attribute is an explicit contract, greppable from the config, and it survives
every redesign. This one convention prevents most of the silent breakage that gives home-built
tours their reputation.
2. Resolving the Target (Without Giving Up)
The naive implementation calls document.querySelector when the step begins. In a React
app that fetches before it renders, that fails constantly. Watch for the element instead, with a
timeout so the tour can never hang.
use-target.js
The 'missing' state is the important part. A tour that stalls on an element that never
arrives is worse than no tour, because the user is now trapped behind a dimmed overlay with no
obvious escape. Optional steps skip; required steps end the tour cleanly and record why.
3. Positioning the Step
Positioning is where hand-rolled tours accumulate the most edge cases. The modern browser primitive, CSS anchor positioning, handles a good share of it declaratively where it is supported, but you still need a measured fallback. The core of it is small:
position.js
Then recompute on scroll and resize (passive listeners, throttled to an
animation frame), and on any ResizeObserver entry for the target, because a target that
changes size after data loads will otherwise leave the step pointing at empty space.
4. The Spotlight Overlay
The obvious implementation is four absolutely positioned divs framing the target. It works until you want rounded corners. An SVG mask is one element, handles radius natively, and is far easier to animate between steps.
Spotlight.jsx
Two details worth getting right. Render the overlay and the step into a portal attached to
document.body, so no ancestor with overflow: hidden or a
transform can clip or re-parent them. And keep pointer-events: none on the
overlay if you want the highlighted control to remain genuinely clickable, which you usually do,
because the best tours advance when the user performs the action rather than when they click Next.
5. Persistence and Versioning
This is the piece most often done in the cheapest possible way and most often regretted.
✓ Do
- Store completion against the user record on the server.
- Record
completedanddismissedas different outcomes. - Key on the tour's version id, so a rewritten tour can show again.
- Store the last step reached, for resumability.
✗ Don't
- Rely on
localStoragealone: it is per browser, per device. - Use one boolean for all tours forever.
- Re-show a tour to someone who deliberately escaped it.
- Forget that clearing site data resets everything.
The localStorage-only approach is the single most common complaint about home-built tours: a user
completes onboarding on their laptop, opens the product on a second machine, and is walked through it
again. Storing a small map of { tourId: outcome } on the user costs one endpoint and
removes the entire class of problem.
Accessibility Is Not Optional Here
A tour takes over the screen, which makes it a dialog whether you called it one or not. The minimum set:
- Step container gets
role="dialog"andaria-modal="true", labelled by the step title. - Move focus into the step when it opens; trap Tab within it; restore focus on close.
- Escape dismisses the tour; a tour you cannot leave from the keyboard is a genuine barrier.
- Announce step changes through an
aria-live="polite"region. - Respect
prefers-reduced-motion: no smooth scrolling, no animated highlight transitions. - Check the dim overlay's contrast against the highlighted content, not against white.
The Seven Things That Stay Hard
-
Selector coupling
Tour steps depend on DOM structure. Nothing throws when a target disappears, so breakage is silent and is usually discovered by a customer.
data-tourattributes plus a CI check that every configured selector exists in the codebase is the only real defence. -
Virtualised lists
The target row is not in the DOM until it scrolls into view, and scrolling it into view requires knowing where it would be. Usually solved by targeting a container instead, which weakens the step.
-
Modals, portals and stacking
A dialog rendered at the end of body will sit above your overlay, or below it, depending on z-index arithmetic that changes whenever anyone adds a new layer.
-
Server rendering
There is no DOM at render time, so everything must be effect-driven and hydration-safe, and the first paint must not flash a mispositioned step.
-
Localisation
Translated copy is routinely 30% longer, which changes the step's height, which changes whether it fits, which changes the placement. Right-to-left layouts flip the whole positioning model. See multi-language onboarding.
-
Mobile viewports
Anchored tooltips stop making sense below a certain width. Most tours need a second presentation, a bottom sheet, which is effectively a second implementation.
-
Editing
The one nobody estimates. Every wording change, reorder, new step or audience tweak is a code change, a review and a deploy, performed by an engineer, requested by someone who is not one.
Build It, or Configure It?
The code above is genuinely not hard, and if you enjoy this sort of thing you will have a working tour by Thursday. The decision is not about difficulty; it is about who owns the content afterwards.
The test: step three's copy needs changing. Who does it, and how long until a user sees the new wording? If the honest answer is "a developer, next sprint", the tour will stop being maintained within a quarter, not through neglect, but because the people with opinions about onboarding cannot act on them. That is the real cost, and it does not appear in the build estimate.
Build it when the tour is a product feature rather than onboarding content: deeply coupled to your data model, unusual in behaviour, or something you sell to your own customers. Configure it when it is onboarding content that product, marketing or customer success will want to change often, which is almost always. The full economics, including the parts that only show up in year two, are in build vs buy user onboarding.
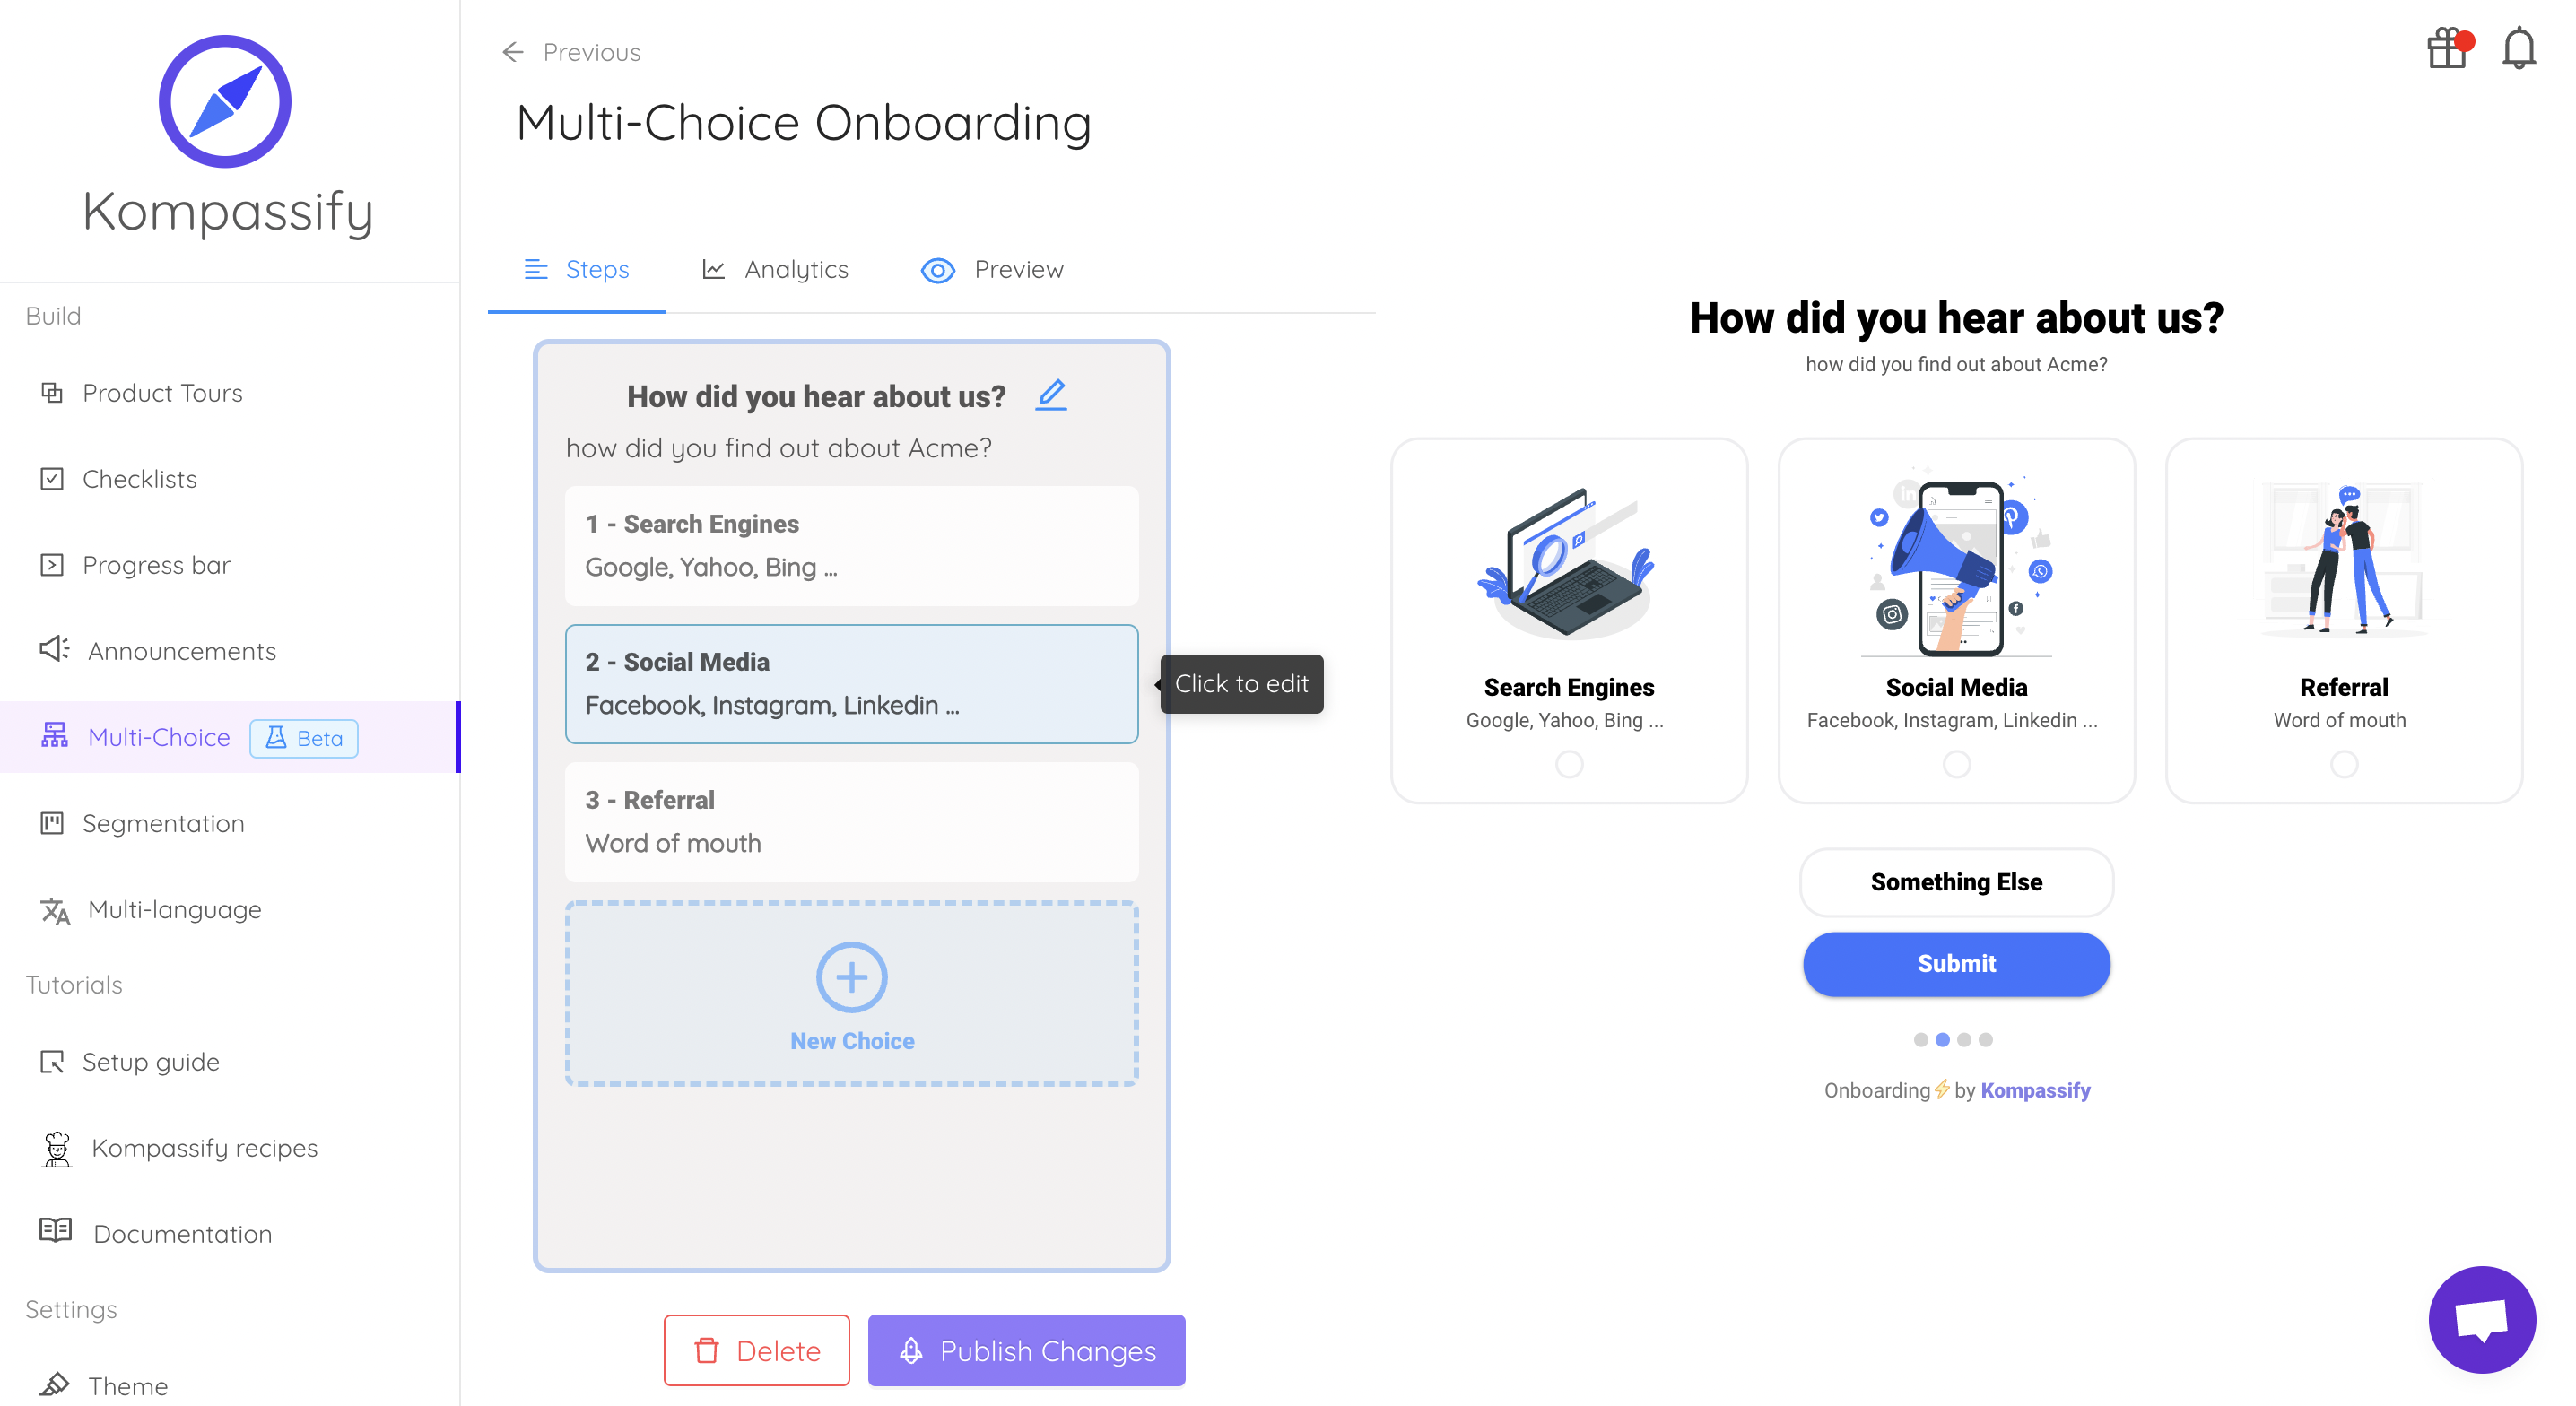
Kompassify is the configured
version of everything above: it handles the target resolution, positioning, spotlight, persistence,
segmentation and per-step analytics, works on any framework including React, and lets a non-developer
change step three's wording in a minute. It installs as a single script and targets the same
data-tour attributes you would have written anyway, so nothing about your component code
needs to change. GDPR compliant, EU-hosted, free for under 100 monthly active users, with paid plans
from $129/month.
Keep the data-tour Attributes. Skip the Other 200 Lines.
Kompassify handles target resolution, positioning, spotlight, persistence, targeting and per-step analytics, on your existing React app, with no component changes and no deploy for every copy edit. GDPR compliant, EU-hosted, and free for under 100 monthly active users.
Start for Free →Frequently Asked Questions
How do you build a product tour in React?
At minimum you need five pieces: a step configuration listing each target selector and its content; a resolver that finds the target element and waits for it if the app has not rendered it yet; a positioning layer that places the step tooltip relative to the target and flips it when there is no room; an overlay that dims the page and cuts a hole around the target; and persistence so that progress survives a route change and a reload. The first version is roughly two hundred lines of React and takes a competent developer a couple of days. Everything after that first version is where the real cost lives.
How do you highlight an element in a React product tour?
The most robust approach is a full-screen fixed overlay containing an SVG mask: fill the whole viewport with the dim colour, then punch a rounded rectangle out of it at the target's bounding box. It avoids the classic four-div technique, handles rounded corners cleanly, and lets you add a soft border around the cut-out. Set pointer-events to none on the overlay if you want the user to be able to interact with the highlighted control, and remember to recompute the rectangle on scroll and resize.
How do you anchor a tour step to an element that has not rendered yet?
Do not query once and give up. Use a MutationObserver that watches the document for the target selector appearing, with a timeout after which the step is either skipped or the tour is paused. This is essential in any React app that fetches data before rendering, because the element a tour step points at frequently does not exist at the moment the step begins. Skipping gracefully matters more than it sounds: a tour that stalls on a missing element is worse than no tour, because the user is now stuck behind an overlay.
What makes product tours hard to maintain in React?
Selector coupling, mostly. Tour steps target DOM elements, so every refactor, redesign or class-name change can silently break a step, and nothing fails loudly, because a missing element is not an exception. Add virtualised lists where the target may not be mounted, modals and portals that render outside the main tree, server rendering that has no DOM at build time, localisation that changes text length and therefore layout, mobile viewports where the anchored element is off-screen, and focus management for keyboard users. None is individually hard; together they are a permanent maintenance line item.
Should you build a product tour or use a no-code tool?
Build it when the tour is a genuine product feature: deeply integrated with your data, unusual in behaviour, or something you sell. Use a configurable tool when the tour is onboarding content that marketing, product or customer success will want to change frequently, because the real cost of building is not the first version but every subsequent edit going through an engineering backlog and a release. A useful test: if the copy of step three needs changing, who does it and how long until a user sees it? If the honest answer is "a developer, next sprint", building is the more expensive option regardless of how the first estimate looked. The full comparison is in build vs buy user onboarding.
How do you make a React product tour accessible?
Treat each step as a dialog: give the step container role="dialog" with aria-modal, move focus into it when it opens, trap Tab within it while it is open, restore focus to the previous element when it closes, and make Escape dismiss the tour. Announce step changes with an aria-live region so screen-reader users hear the new content, ensure every control is reachable by keyboard, and respect prefers-reduced-motion by disabling scroll and highlight animations. A tour that cannot be dismissed from the keyboard is a genuine accessibility barrier, not a rough edge.
How do you stop a product tour from showing repeatedly?
Persist completion server-side against the user record, not only in browser storage. Local storage is per-browser and per-device, so a user who switches machines or clears their storage sees the tour again, which is the single most common complaint about home-built tours. Store a completion or dismissal flag on the user, check it before starting, and record both "completed" and "dismissed" separately so you can tell the difference between a tour people finish and one people escape from.
How do you measure whether a product tour works?
Emit an event at every transition: tour started, each step viewed, each step completed, dismissed, finished. Then look at per-step drop-off rather than an overall completion rate. Completion alone tells you almost nothing, because a tour can be completed by people clicking Next to make it go away. The number that matters is whether users who saw the tour reach activation more often than a comparable group who did not, which requires that the events exist in the first place. Instrument before you launch, not after someone asks.